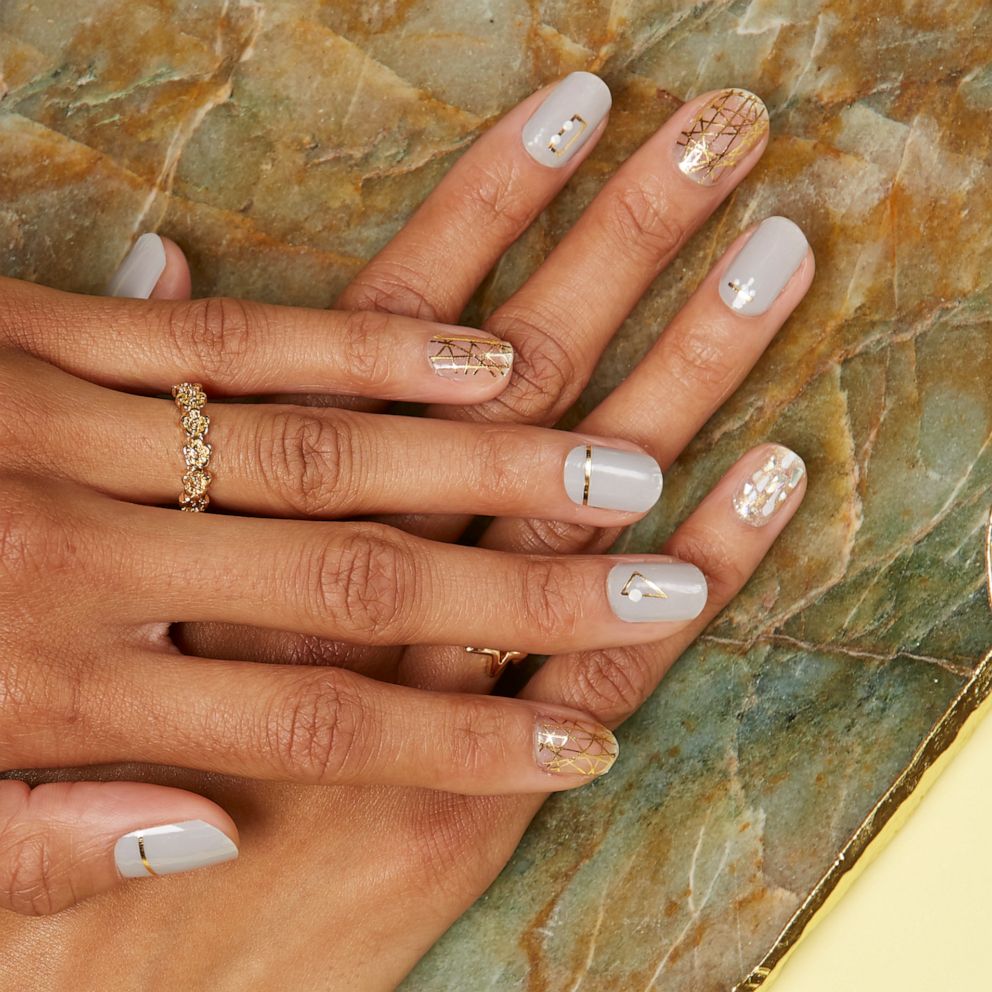
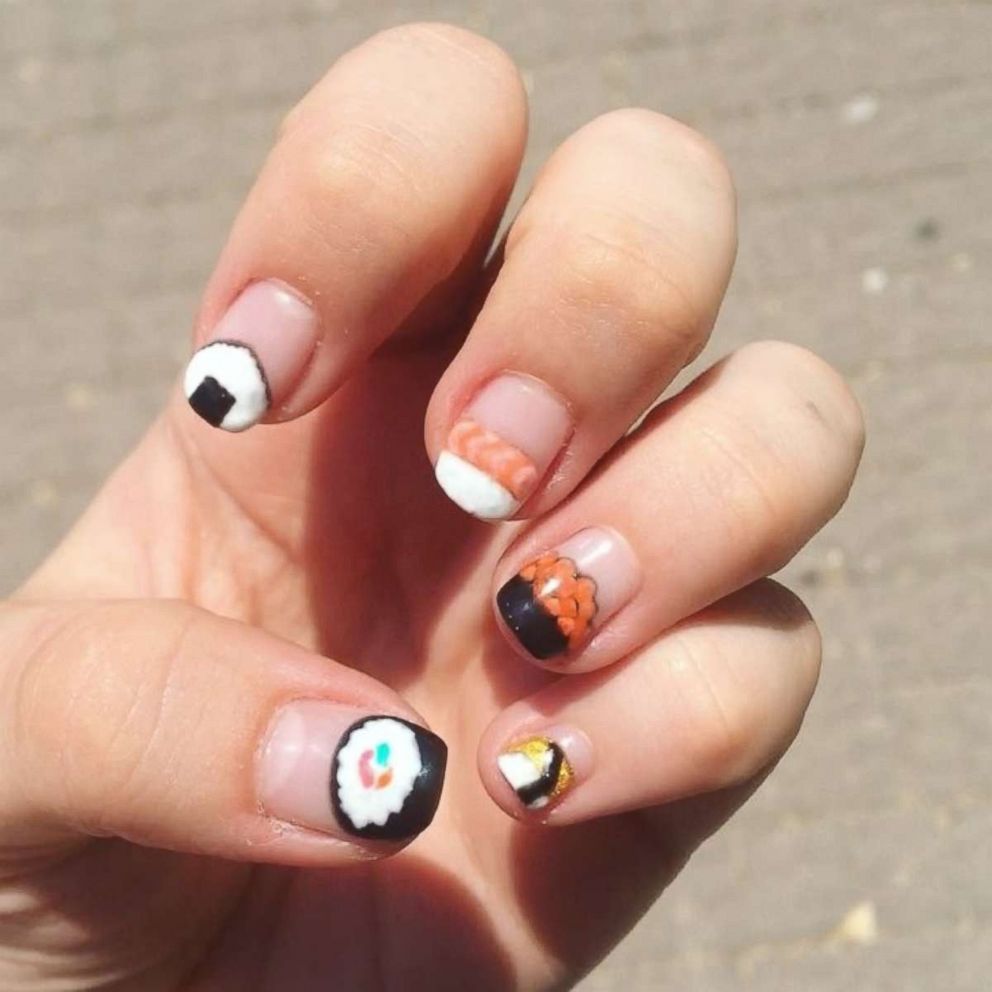
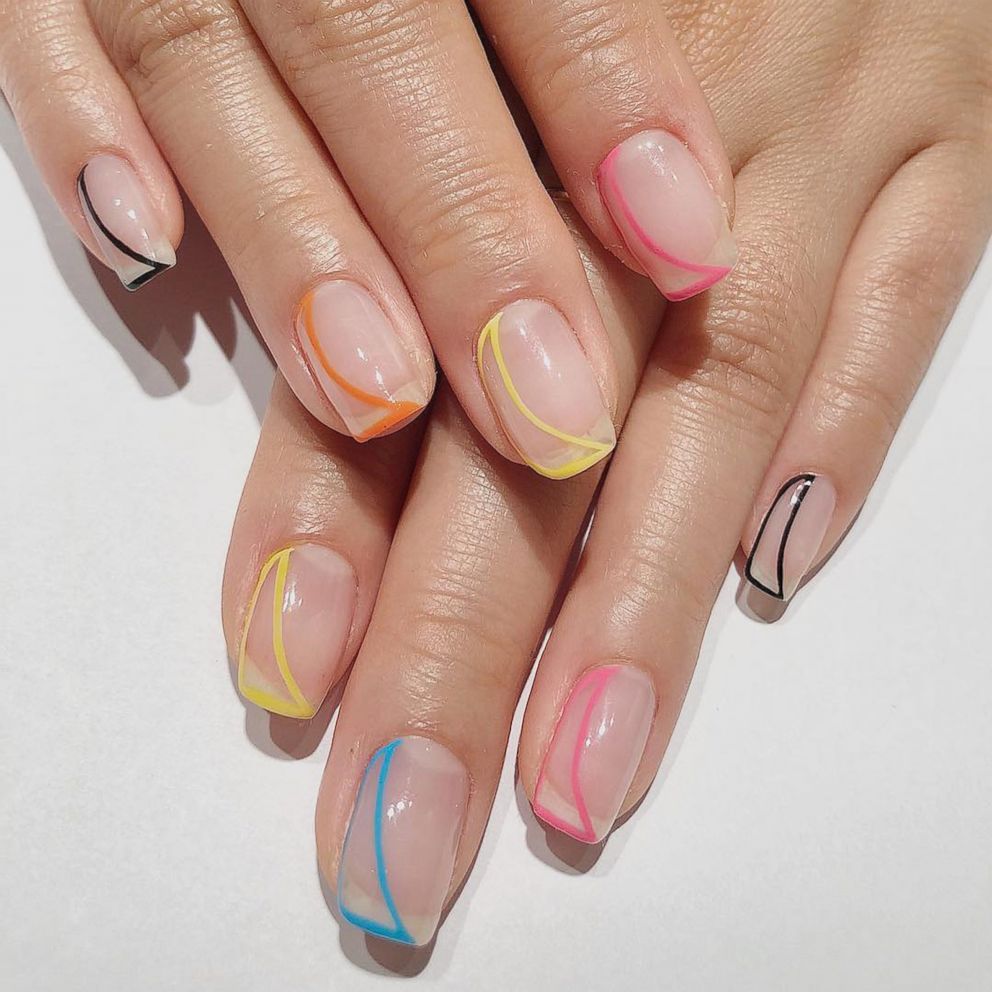
Nail strip are taking over as the latest manicure trend you need to know about.
"Nail strips are assorted-sized gel strips that you peel and fit to your natural nail," Ashley Brocco, marketing manager at nail company Dashing Diva, told "Good Morning America."
They're also a way to avoid spending too much on a basic manicure but still maintain your style.
Brocco says the strips differ from traditional nail polish because "they do not chip or stain, are waterproof and last up to 14 days."
Also, with nail strips, there's no time spent dying the nails, and you don't have to soak your nails to remove the designs, reducing the time you spend inhaling chemicals and letting your nails grow naturally and healthily.
Nail strips are sold online and at retailers everywhere. Here's what you need to know to do it yourself at home in five easy steps.
1. Prep the nails
Clean the nails with alcohol or nail polish remover and gently push back your cuticles. The cleaner the nail, the longer the strips will last.
2. Select a size
Nail strips usually come in different sizes, so make sure you find the right one before applying. It's always better to choose the smaller size if you think you are between sizes.
3. Apply the strip
Push the strip onto the nail from the cuticle line to the top to cover the entire nail.
4. Press on
Firmly press down on the strip from side to side, making sure there are no air bubbles.
5. File down
Fold the extra material over the top of the finger and file off in a single direction.


