How to cut men's hair from home, according to celebrity hairstylist Kristan Serafino
As officials continue to encourage social distancing to help stop the spread of COVID-19, many are looking for ways to perform self-care tasks at home, from removing a gel manicure to cutting your own or someone else's hair .
In fact, "how to cut men's hair," is one of the most-searched topics on the internet and hairstyling experts are using their platforms to provide guidance.
"I've observed some dubious techniques on at-home haircutting ending in quite frankly, scary results," celebrity hairstylist Kristan Serafino said to "GMA."
"As reluctant as I am to suggest cutting your own hair, desperate times call for desperate measures," she continued. "So, to save mankind from bad hair, I decided to walk men through each step and video to achieve a proper hair cut at home."
Serafino, who said, men's haircutting is "sort of my thing," provided some tips and techniques to channel your inner barber.
Serafino's steps for a great professional-style haircut at home
Tools Needed:
- Hair clipper with detachable guards
- Trimmer or shear
- Feather razor
- Styling product
Preparation notes
A clipper's guard numbers determine the length of the hair. Typically, the smaller the number on the guard, the shorter the cut.
Use an electric clipper on clean, dry hair that is easy to comb through.
Always work against the direction of the hair's growth.
If you use more than one guard to create a fade (a style where the hair on the top of the head is longer than on the sides and back), begin by using the longer length guard on the entire head. Repeat steps for the back and sides using a shorter guard.
How to cut men's hair step-by-step:
Back of the head:
- Before beginning, select the correct guard. To determine the correct number guard, place the base of the guard on the scalp then slowly scoop the teeth of the guard through the hair. The hair exposed above the guard is the length that will be cut. Select the next largest-sized clipper guard.
- Attach the guard to the clipper.
- Starting at the nape of the neck, place the base of the guard lightly against the scalp and in a smooth, steady movement scoop upwards, keeping the base of the guard against the scalp. Clip upward in short sections letting the hair feed into the teeth of the guard. Clip up to the crown of the head.
- Sometimes the guard will create lines in the hair. To remove the lines and even the cut, clip over the same sections making a "V" pattern going up to the right, then up to the left. Repeating the "V" technique will remove any stragglers and even out the hairline.
- If you determine the original guard you chose is not cutting the hair short enough, after completing each step for cutting the back of the head and sides of the head, repeat above using a shorter guard.
Sides of the head:
-Before beginning, find the round of the head. To do this, place the palm of each hand on the sides of the head just above the ear and touch fingertips at the top of the head. The round of the head is where the middle knuckles are positioned.
- When cutting the sides it's essential to roll the guard over the round of the head. Lift the clipper away from the scalp and hair to remove the bulkiness at the round of the head without cutting the top. For men experiencing thinning, removing the weight line on the round of the head visually draws less attention to recession.
Top of the head
- Begin at the front of the back of the head and slowly work in small sections to the front, following steps four and five above.
- If you are using a longer guard for the top and shorter guard for the sides and back, the challenge is getting a seamless transition at the round of the head. If there is a guard number between the guard used for the back/sides and the top, then that is perfect for blending between lengths. If not, then always use the higher blade guard number and repeatedly work the area of transition from all angles to smooth the blend.
Detailing the cut
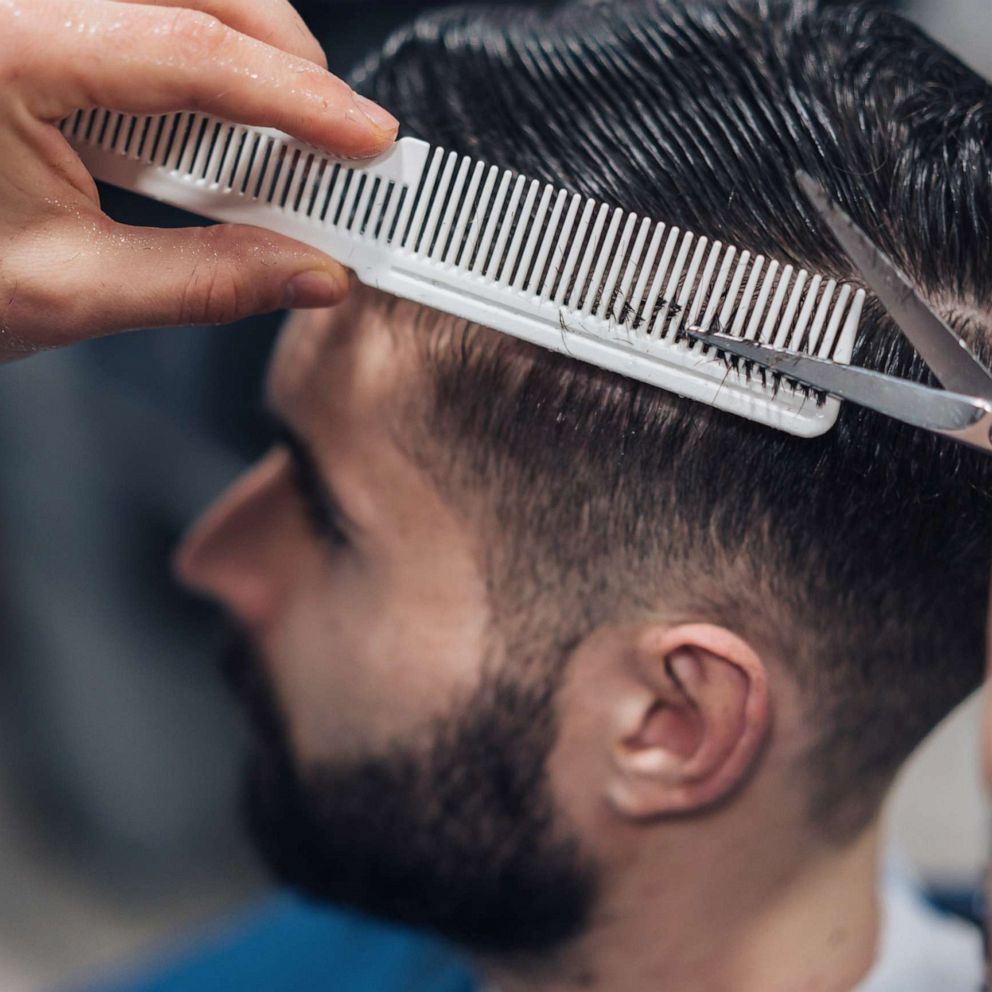
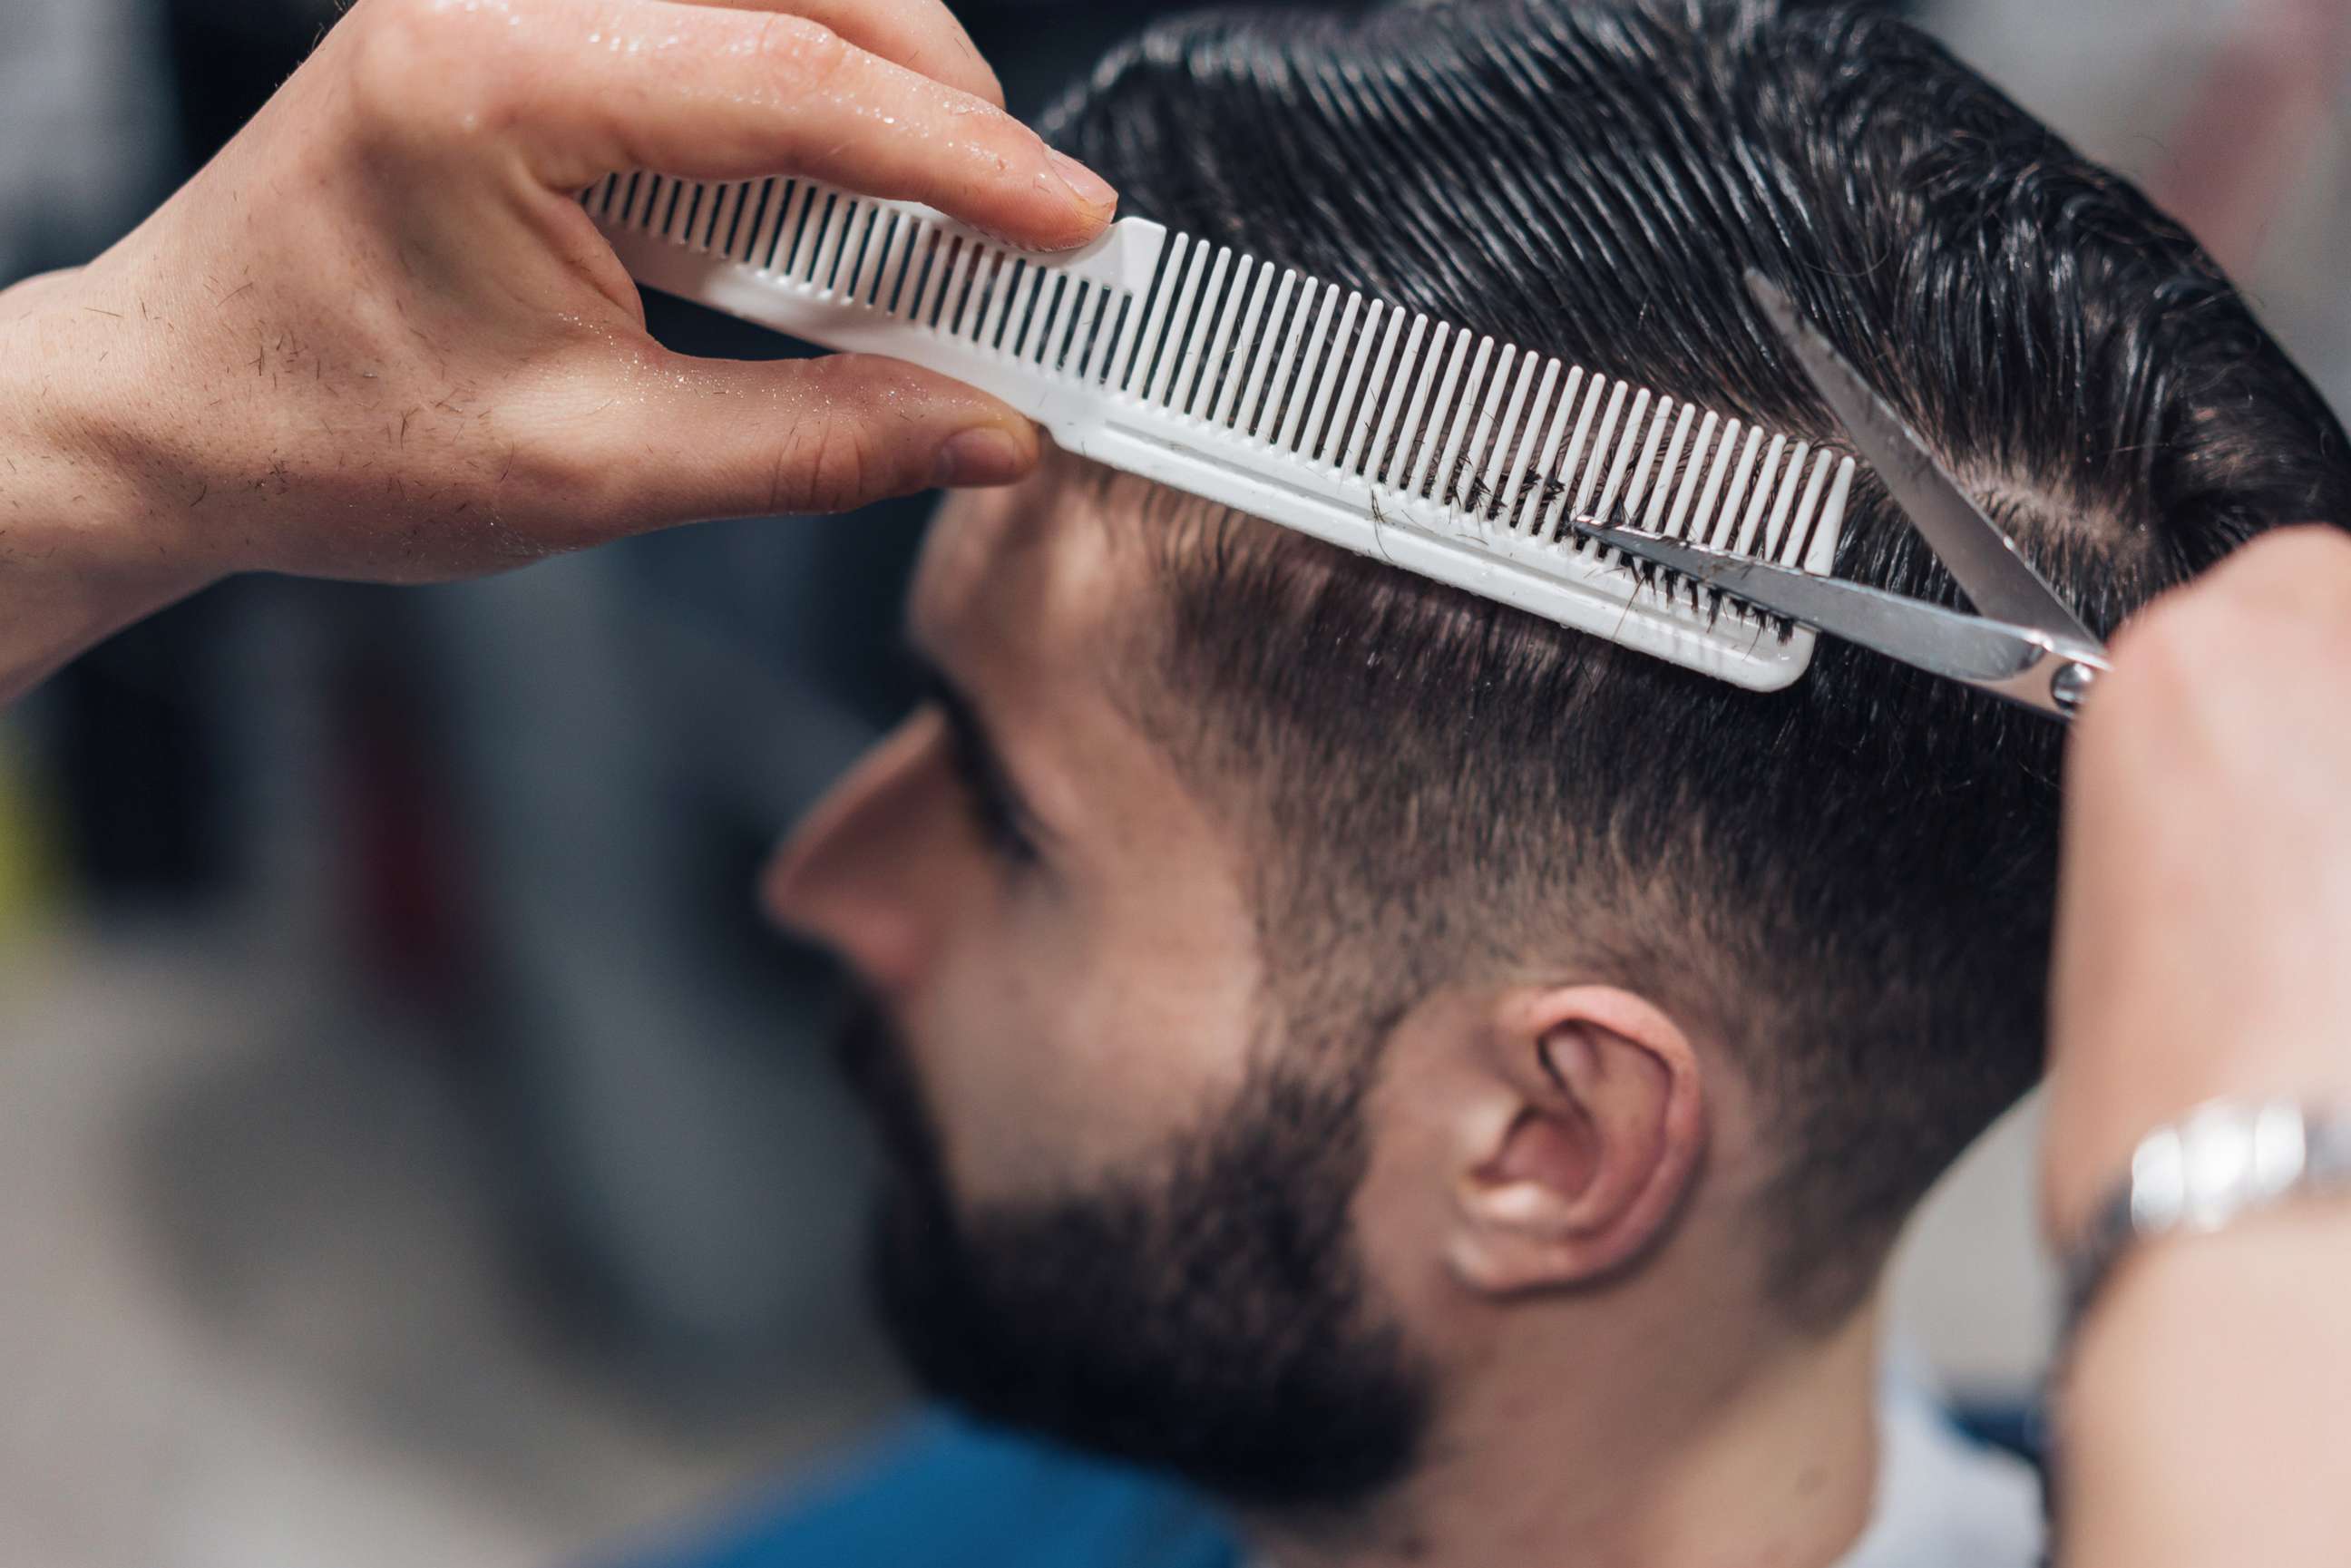
Trim the hair around the ears and the back of the neck. Use small, pointed shears to trim around the ears and a feather razor for the neck area. Or, use the clipper without a guard around the ears and a shaving razor for the neck area.
Finishing touches:
Apply a finishing cream, gel, paste, or wax depending on what type of look you are looking to achieve.
Pro tips for success
"This is no time to be in a rush," advises Serafino. "Take small snips with the shears to avoid cutting too much hair off or snipping an ear."
She also suggests before using a feather or shaving razor, apply beard oil to the neckline to prevent irritation.
Apply a styling product on the fingertips and then work in from the back of the head to the front to avoid heavy product buildup in the front.
Running your fingertips through the hair can aid in creating texture. Run your fingertips from front to back, and side to side to finish your style.
