How to do your own box braids like a pro: tools, tips and best practices
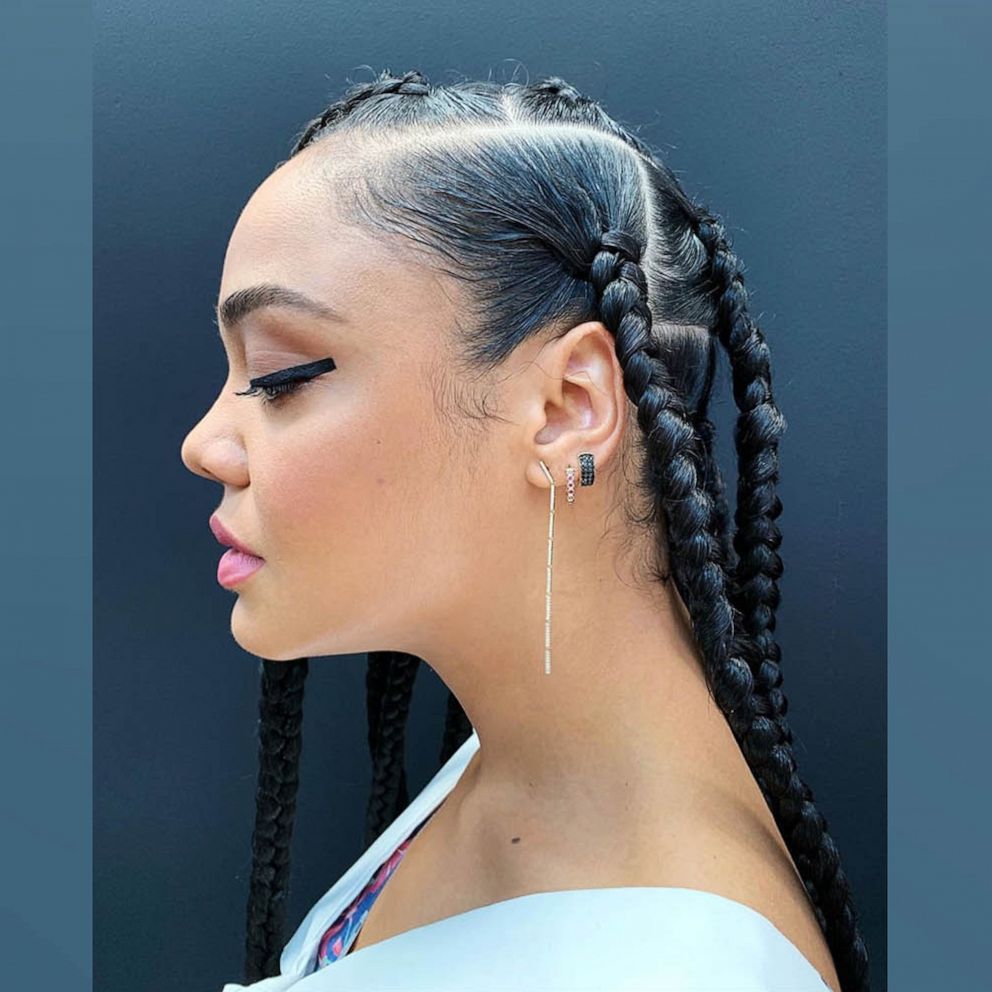
Many women of color have been wearing box braids for decades, and while it's stylish all year long, summer is one of the best times of the year to rock the look.
Whether you are going for a long, short or brightly colored look, box braids are a great go-to. This is especially true if you are looking to give your natural strands a break from hot tools and time-consuming daily styling -- or even if you're simply eager to try something different.
For many years, people complained about the tight tugging, long hours and unfortunate breakage that traditional box braids can potentially cause to hair; however, in 2019, "knotless" box braids became the easy-to-wear alternative that continues to grow in popularity. This method involves less tugging and tightness near the roots of the scalp.
Knotless or not, box braids are usually a task left to professionals, but stay-at-home orders amid the COVID-19 pandemic have encouraged many people to find ways to tend their own grooming desires.
After searching for answers on how to do one's own box braids, "GMA" came across some amazing DIY style breakdowns from Maria Antoinette Loggins, Nocie Mseleku, Kersti Pitre and Mariam Coreen to learn exactly how to get started.

"Box braids are a classic protective style which allow you time and freedom from daily haircare," Loggins told "GMA." "While it is nice to have a break, it's also a good time to implement scalp care -- especially now that you can easily access your scalp."
"Remember, healthy hair comes from a healthy scalp," she added.
If you are game to try and save a little cash while you're at it, "GMA" has compiled a list of affordable, recommended tools, tips, best practices and a step-by-step breakdown on how to do your own box braids.
Recommended tools/products:
- Kanekalon Braid Hair or another preferred brand of braiding hair in the length and color you desire
- Comb for sectioning
- Hair gel or beeswax/jam for hold
- Handheld mirror for viewing back sections of the head
How to do your own knotless box braids:
Pro tip: Before starting the process, Loggins recommends to pre-cleanse your braiding hair in water and vinegar to remove any chemicals that may cause your scalp to itch.
Step 1: Wash, condition and detangle your natural hair.
Step 2: Stretch the ends and brush out the extensions.
Step 3: Start by sectioning your hair into four big sections. Leave one section open but clip off the others to the side.
Step 4: Use your comb to begin sectioning off smaller box-shaped sections (size may vary depending on your preference).
Step 5: Apply hair gel to the root of the smaller boxed section and divide into sub-sections.
Step 6: Braid the roots of sub-sections a little less than an inch down.
Step 7: Take a section of hair that is the same size as your small boxed section and begin to braid it with your natural hair. Split your real hair in half and add the extension hair as your third piece for braiding.
Step 8: Repeat steps 1-7 throughout the entire head until all sections are braided.
Pro tip: For knotless braids, make sure to touch the root of the braid to make sure there are no bumps and everything is flat, and smoothly braided together.
Step 9: Once all braids are complete, dip them into boiling hot water to seal and soften the ends. This step will also help eliminate flyaways and fuzz.
Step 10: Take a look in the mirror, smile and give your braids a fun hair flip.


