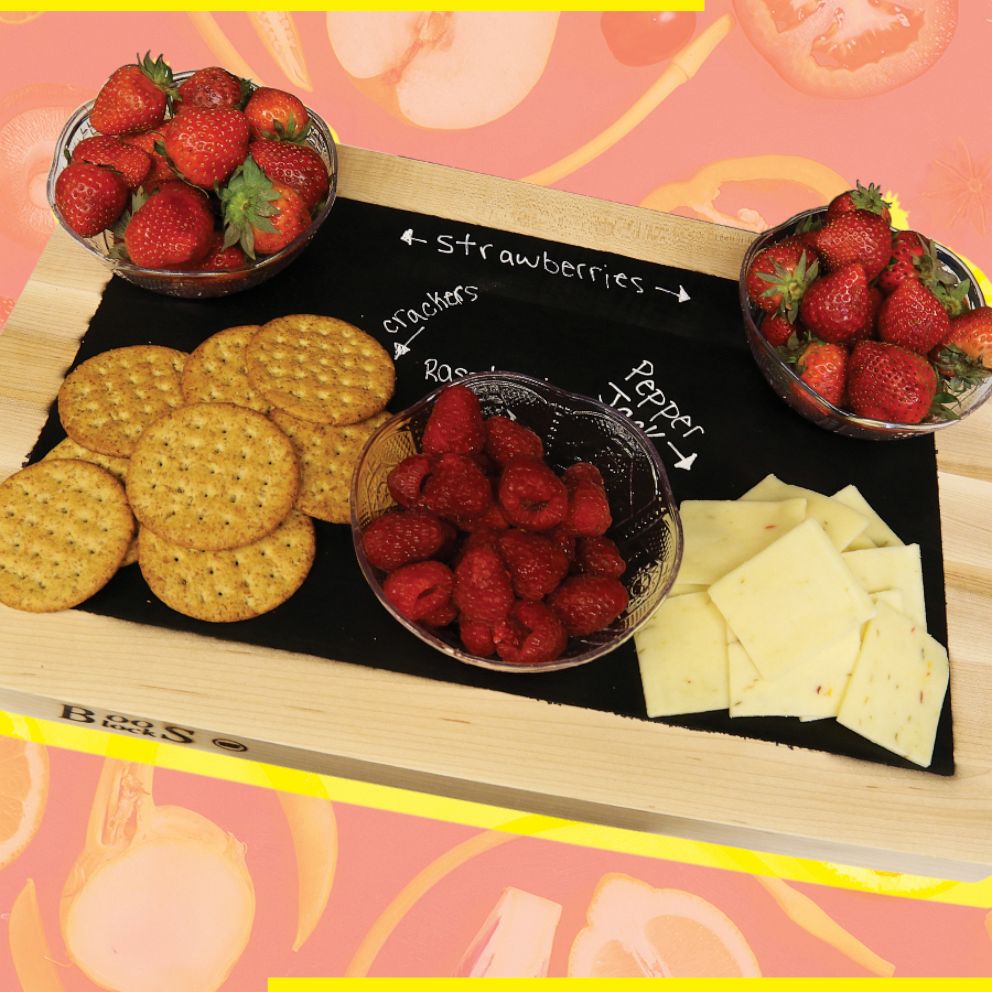
This do-it-yourself chalkboard serving tray is perfect for your next get-together.
Next time you invite guests over, you can be the "hostest with the mostest" with this quick-and-easy DIY project.
All you have to do make this creative serving piece is follow the seven steps below:
1. Gather your supplies
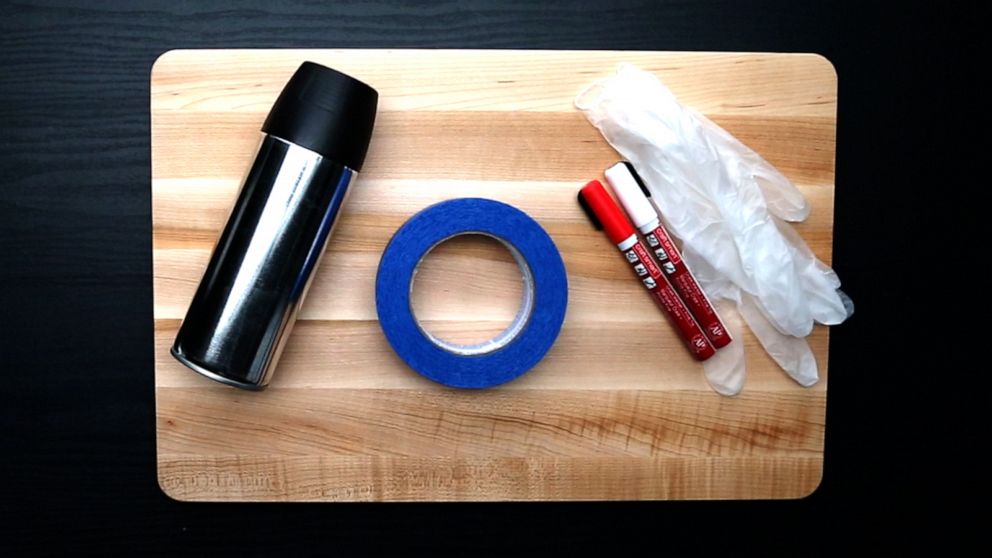
This DIY is fairly simple. You only need four supplies that you can find at most craft stores.
- Block of wood
- Chalkboard spray paint
- Painter's tape
- Chalk
Tip: instead of a piece of wood, you could also use a wooden cutting board. It works just as well and you may already have an extra one lying around your kitchen.
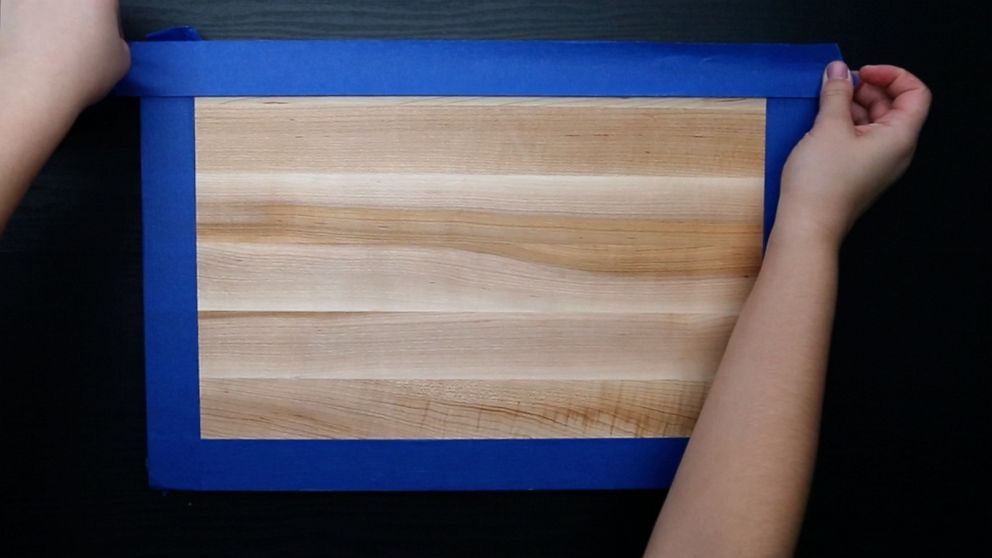
2. Tape the edges of your board
Using the painter's tape, tape all four edges of the wood block.
Just remember, the more tape you use, the smaller the chalkboard area you will have.
3. Apply chalkboard spray paint
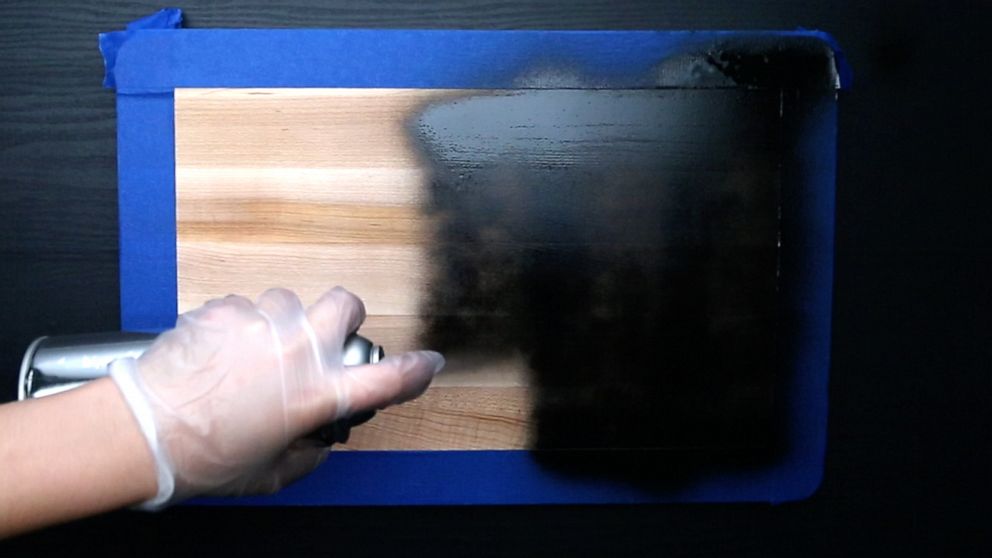
First, make sure to read the directions on the spray paint to make sure you are applying it correctly.
Next, carefully apply the chalkboard spray paint to the area without the tape.
Tip: you may want to wear gloves.
4. Remove the tape
After the paint has dried according to the time on the label, remove the tape.
This should reveal your perfect chalkboard rectangle.
5. Add your favorite snacks
Get creative with what you want to serve.
This board is great for cheese, fruit, crackers, desserts and more.
6. Label the board
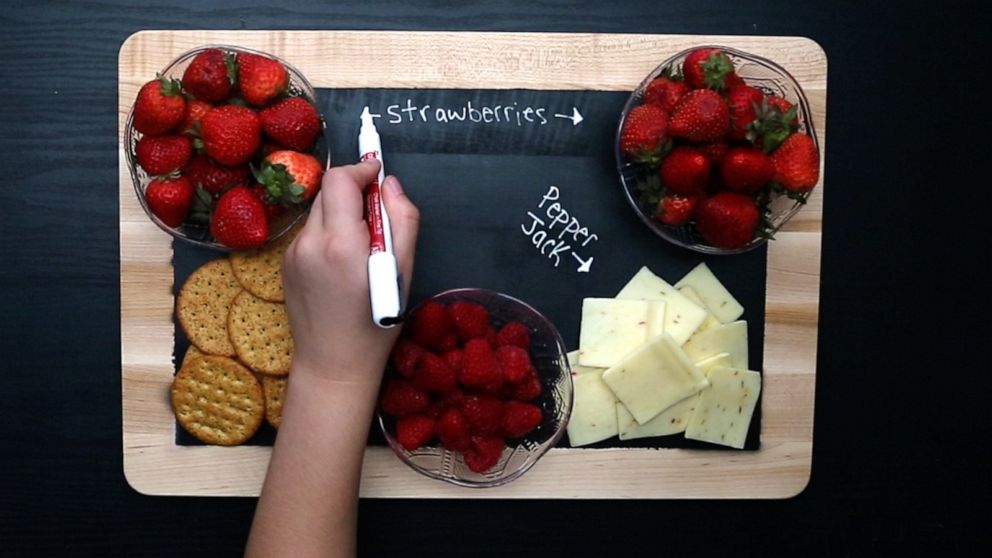
After you have decided where to place everything, use the chalk to label the items.
You can even add the name of the party if it is a housewarming, someone's birthday, graduation or anniversary.
7. Enjoy!
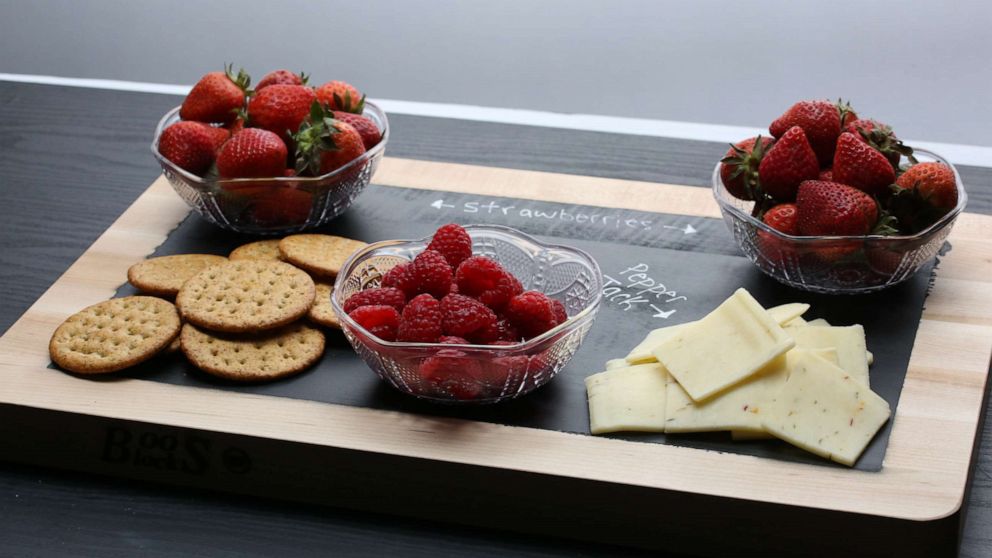
The best thing about this DIY is that you can use it over and over again.
Simply wipe the chalk off and relabel for your next shindig.
