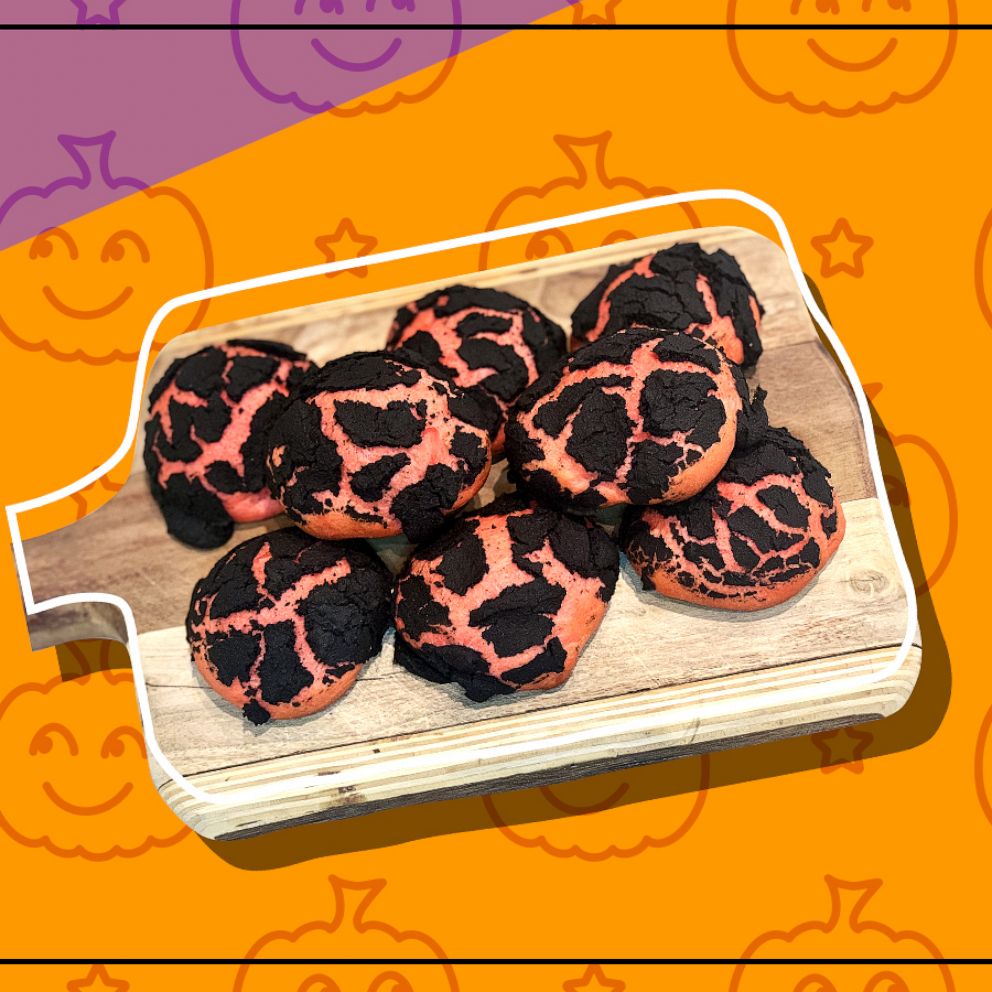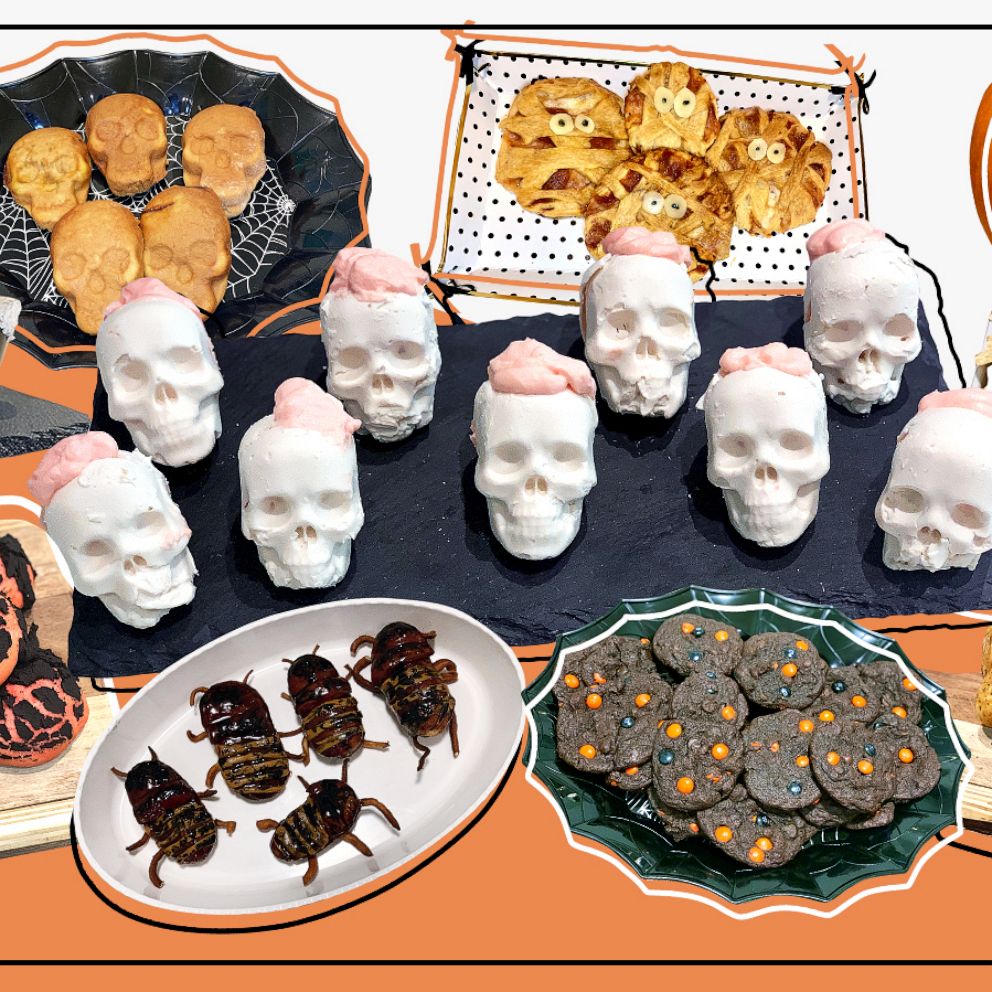
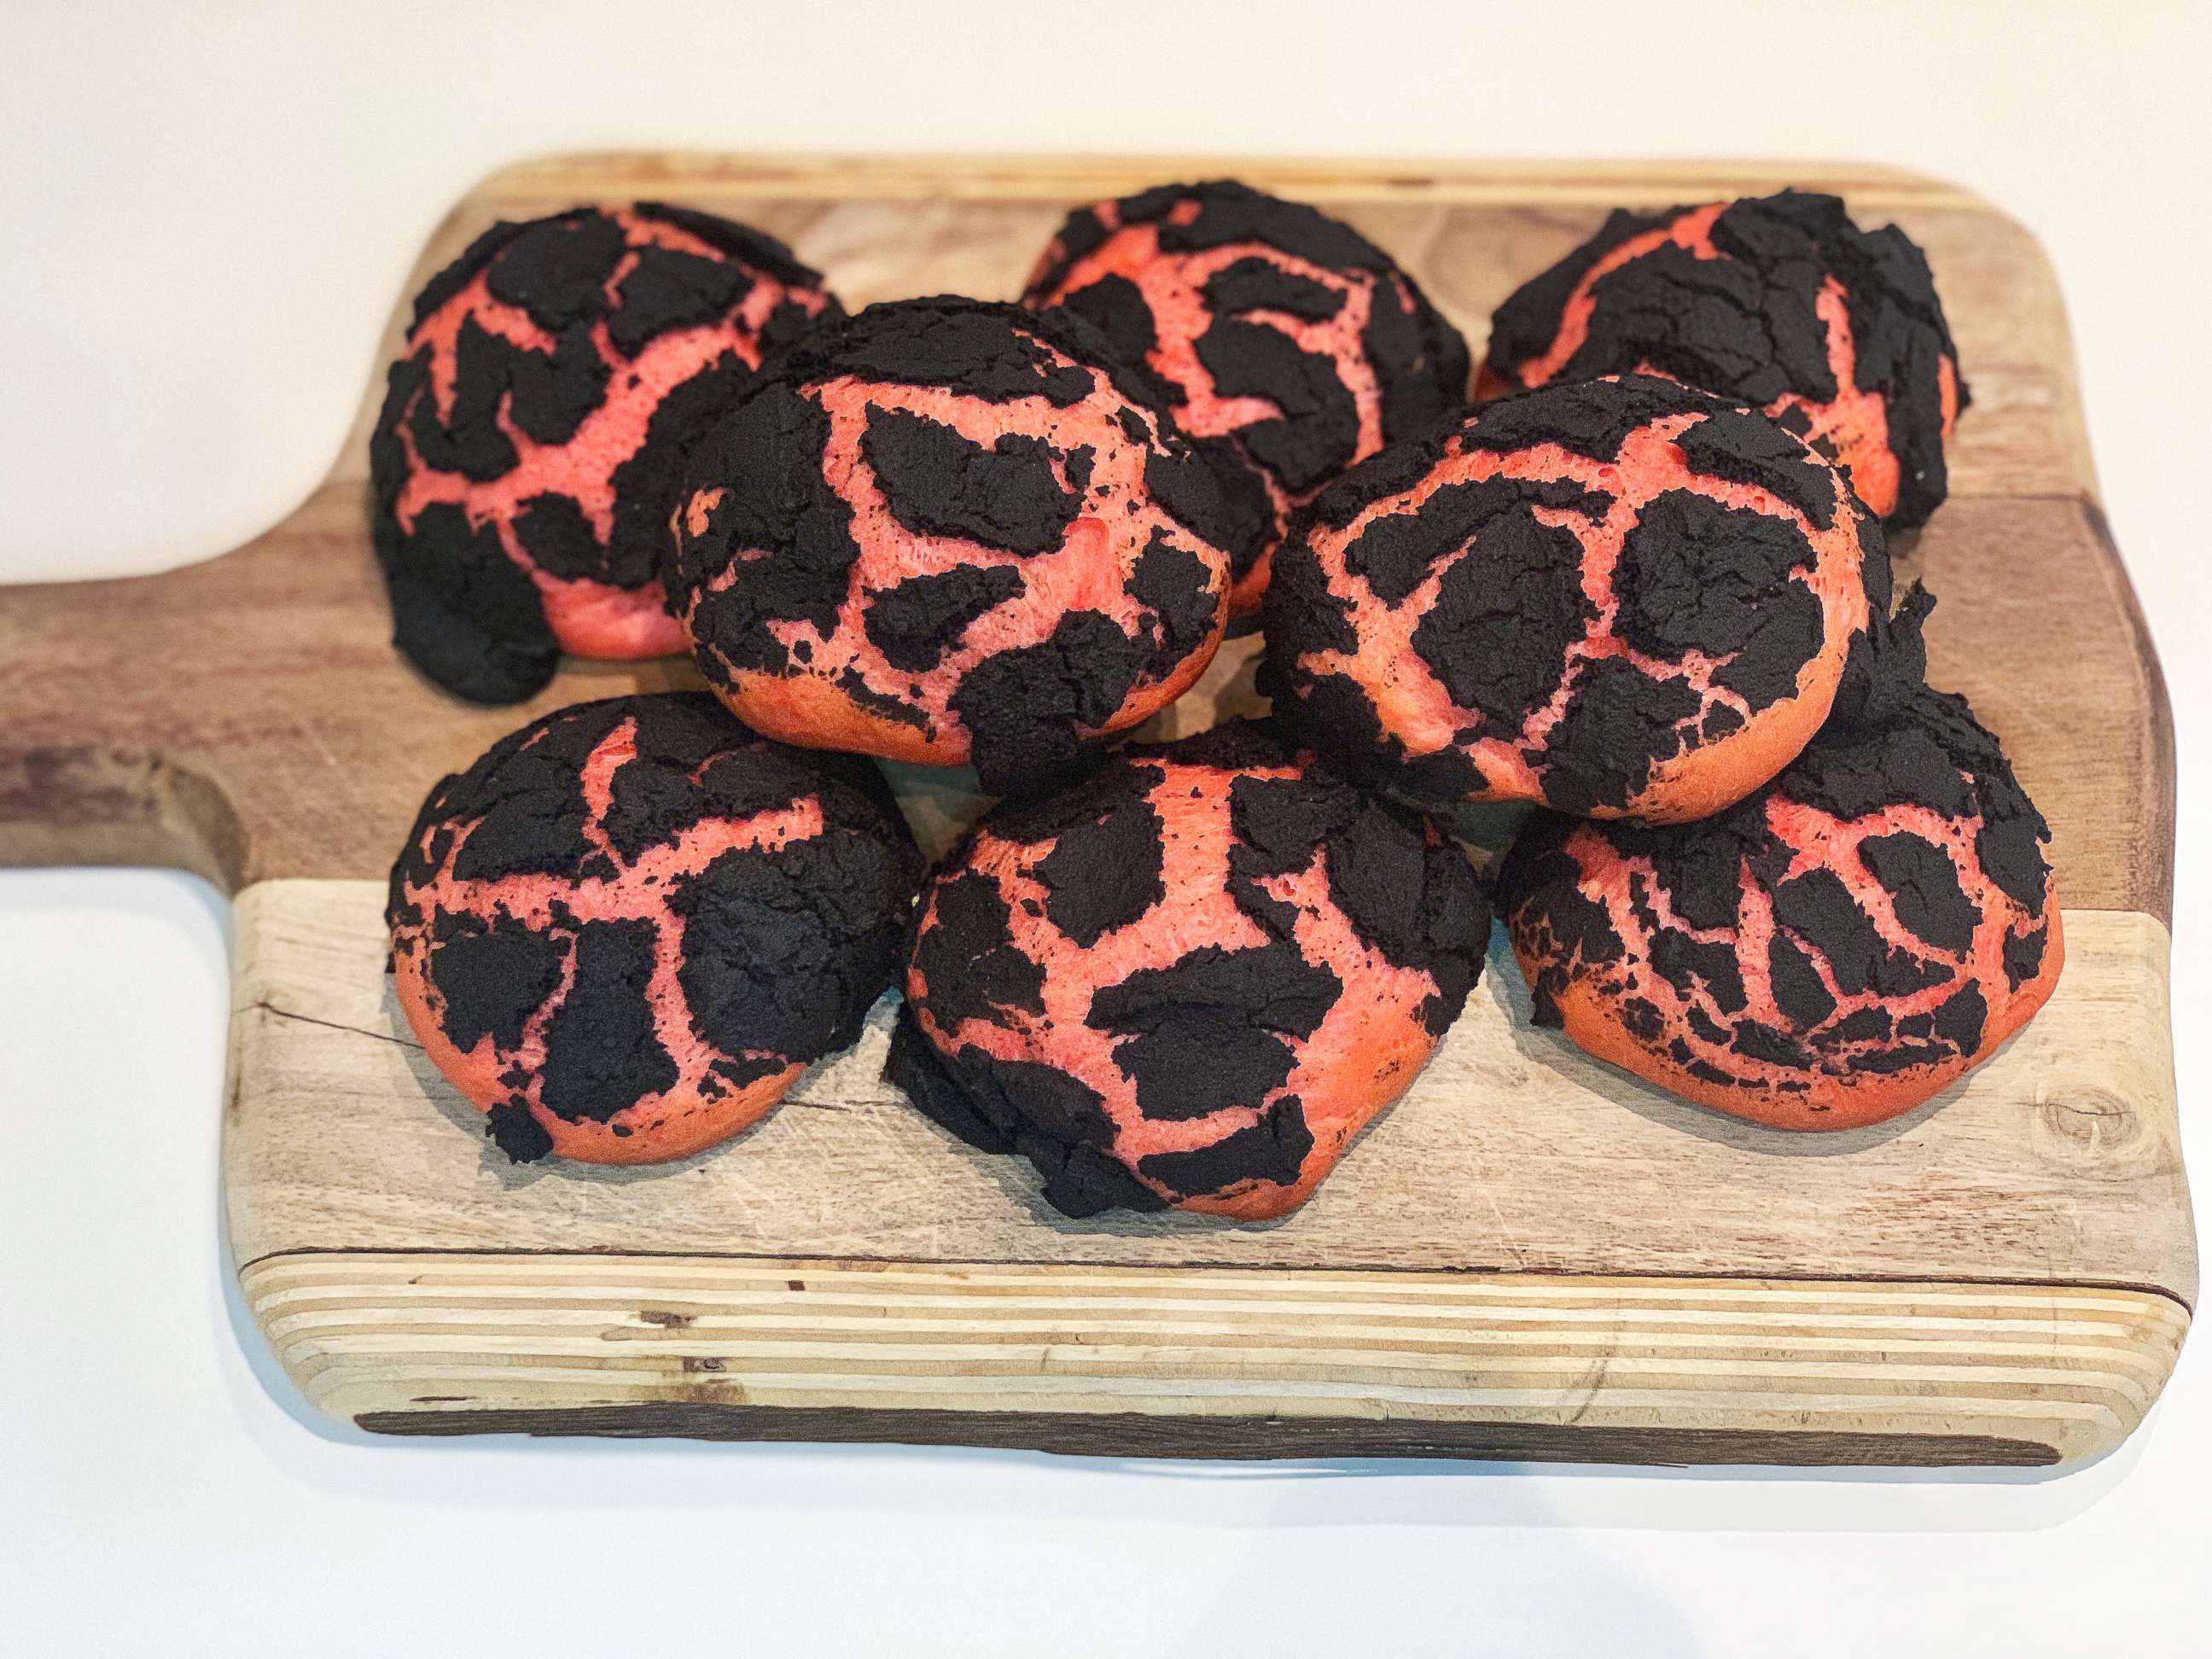
Brimstone Bread made Pinterest's top ten list of 2019's trendiest Halloween recipes. I made the buns as part of my effort to make all ten recipes and review each and every one of them. This bread took a lot of patience and time to make but the result was better than I could have imagined and would surely be a talker at any Halloween gathering. This recipe is love at first bite and if you really want to make a splash this October I'd definitely recommend it.
Brimstone Bread
Recipe IRL:
I've never made bread before or dealt with yeast so I didn't really know what I was getting myself into when making this recipe. Let me tell you that I have a newfound respect for all you bakers out there - this is HARD work!
You really need patience for this recipe too as it requires a lot of down time just waiting for the dough to rise so I'd recommend making this recipe on a day when you have a lot of time to dedicate to it. Making the red bun dough was fairly easy but when I used my mixer to mix it, it kept rising and getting stuck in the very top of the mixer tongs before all the flour was mixed in. To avoid this, I'd recommend using a bigger mixer as mine is fairly small.
I used the 8 drops of food coloring as recommended but by the time my dough was done mixing it was a light pink and not red. At this point I started adding in a lot more drops of food coloring into the dough as I needed it, which made for one very messy table and dough that was a bit tie-dyed. I'd recommend doubling the amount of food coloring the recipe calls for to make sure it's a deep red instead of a pink.
After waiting for the dough to rise an hour and transferring it to baking sheets I found I only got about 12 buns not 16.
The black topping came out a lot less watery than the recipe and a lot more 'dough-like' so I spread it on the buns with a frosting knife instead of using my heads to spread it or pouring it on.
They turned out just as I wanted them to which I was happy about and tasted as buns normally do but with a bit more crunch.
I'd recommend serving these hot with some butter or something to mix the buns in (maybe hummus) so they don't feel so bland at a Halloween party.
- Ingredients
- Red Buns
- 1/4 cup very warm water
- 1/2 cup room temperature milk
- 1 packet (7 grams) active dry yeast
- 1/4 cup butter, softened
- 1 egg
- 1/2 tsp salt
- 1/4 cup sugar
- 8 drops red gel food coloring
- 2 3/4 cups flour
- For the Black Topping
- 1½ cups rice flour
- 1 packet active dry yeast
- 2 tbsp sugar
- 2 tbsp vegetable oil
- 1/2 teaspoon salt
- 1 cup warm water
- 16 drops black gel food coloring
- Instructions
- To make the red buns, first stir together the water and milk in the bowl of a standing mixer. Sprinkle the yeast on top and allow to sit for 5 minutes.
- Add the butter, egg, salt, sugar, and red coloring. Beat on medium-low speed with a paddle attachment for 30 seconds or until the butter is broken up into pieces. Gradually beat in the flour on medium speed until just combined.
- Turn the dough out onto a floured surface and knead until it is soft, mostly smooth, and only slightly sticky (approximately 5-8 minutes). You may need to periodically re-flour the surface.
- Coat a large bowl with cooking spray and place the dough inside, turning once to coat. Cover the bowl with a clean kitchen cloth and allow to rise for 1 hour or until the dough has roughly doubled in size.
- Punch down the dough and set aside. Line two baking sheets with silicon mats or parchment paper. Separate the dough into 16 balls of equal size, placing them an equal distance apart on the baking sheets. Cover and allow to rise for another 45 minutes.
- While you wait, start on the black topping by stirring together the rice flour, yeast, sugar, vegetable oil, and salt in a medium bowl. Stir the black coloring into the warm water and beat the water into the flour mix with a hand mixer on medium speed. Cover and allow to rest for 30 minutes (by the time it’s done, the red buns should be finished rising too).
- Preheat the oven to 350°F. Scoop 2 spoonfuls of black mix over each bun.
- Bake for 10-15 minutes, flipping and rotating the pans halfway through. Allow to cool for 5 minutes on the baking sheet. If desired, trim the black edges where the topping slid to the bottom.
Recipe reprinted courtesy of Eat the Dead and Alison's Wonderland Recipes.
